Bootstrap Row Form
Intro
What do responsive frameworks do-- they supply us with a handy and functioning grid environment to place out the material, ensuring if we determine it right and so it will do the job and display properly on any sort of device no matter the measurements of its display. And the same as in the construction each framework featuring some of the most popular one in its own most current edition-- the Bootstrap 4 framework-- involve simply just a couple of basic features which provided and mixed appropriately can assist you create almost any sort of beautiful look to fit in your layout and view.
In Bootstrap, usually, the grid system gets created by three main components that you have probably actually seen around looking into the code of several web pages-- these are actually the
.container.container-fluid.row.col-If you're fairly new to this entire thing and in certain cases can question which was the correct way these 3 has to be set within your markup here is really a useful method-- all you need to bear in mind is CRC-- this abbreviation comes for Container-- Row-- Column. And given that you'll shortly adjust watching the columns serving as the innermost element it's not change possible you would certainly misjudgment what the primary and the last C indicates. ( read here)
Couple of words regarding the grid system in Bootstrap 4:
Bootstrap's grid method works with a set of containers, rows, and columns to format and also straighten content. It's built utilizing flexbox and is completely responsive. Listed here is an example and an in-depth review precisely how the grid interacts.

The above scenario makes three equal-width columns on small, medium, large size, and extra large size gadgets working with our predefined grid classes. Those columns are centered in the page together with the parent
.containerHere's in what way it does the trick:
- Containers deliver a way to focus your web site's components. Make use of
.container.container-fluid- Rows are horizontal sets of columns which make sure your columns are really organized correctly. We utilize the negative margin method upon
.row- Content needs to be installed in columns, also just columns can be immediate children of Bootstrap Row Css.
- Due to flexbox, grid columns without a specified width will automatically format using equal widths. As an example, four instances of
.col-sm- Column classes reveal the number of columns you want to apply removed from the potential 12 per row. { So, on the occasion that you desire three equal-width columns, you can surely employ
.col-sm-4- Column
widths- Columns come with horizontal
paddingmarginpadding.no-gutters.row- There are five grid tiers, one for each and every responsive breakpoint: all breakpoints (extra small), small-sized, normal, large size, and extra big.
- Grid tiers are built upon minimal widths, indicating they put on that one tier and all those above it (e.g.,
.col-sm-4- You can work with predefined grid classes or else Sass mixins for additional semantic markup.
Understand the limits and problems around flexbox, like the lack of ability to employ some HTML features as flex containers.
While the Containers grant us fixed in max size or expanding from edge to edge straight space on screen with slight convenient paddings across and the columns grant the means to distributing the display screen area horizontally-- once again with some paddings about the concrete material granting it a space to take a breath we're heading to aim our focus to the Bootstrap Row feature and all of the awesome solutions we can surely use it for designating, aligning and delivering its elements employing the clear new to alpha 6 flexbox utilities which are in fact certain classes to bring in to the
.row-sm--md-Efficient ways to make use of the Bootstrap Row Table:
Flexbox utilities may be used for establishing the ordination of the components maded in a
.row.flex-row.flex-row-reverse.flex-column.flex-column-reverseHere is the way the grid tiers infixes get applied-- as an example to stack the
.row.flex-lg-column.flex-Together with the flexbox utilities placeded on a
.row.justify-content-start.justify-content-end.justify-content-center.justify-content between.justify-content-aroundThis counts also to the vertical placement which in Bootstrap 4 flexbox utilities has been managed just as
.align-.align-items-start.row.align-items-end.align-items-centerA different options are lining up the items by their base lines being fixed the class is
.align-items-baseline.align-items-stretchAll of the flexbox utilities stated so far assist independent grid tiers infixes-- include them right before the very last word of the corresponding classes-- such as
.align-items-sm-stretch.justify-content-md-betweenConclusions
Here is the way this essential however at first look not so adjustable component-- the
.rowInspect a couple of on-line video guide about Bootstrap Row:
Related topics:
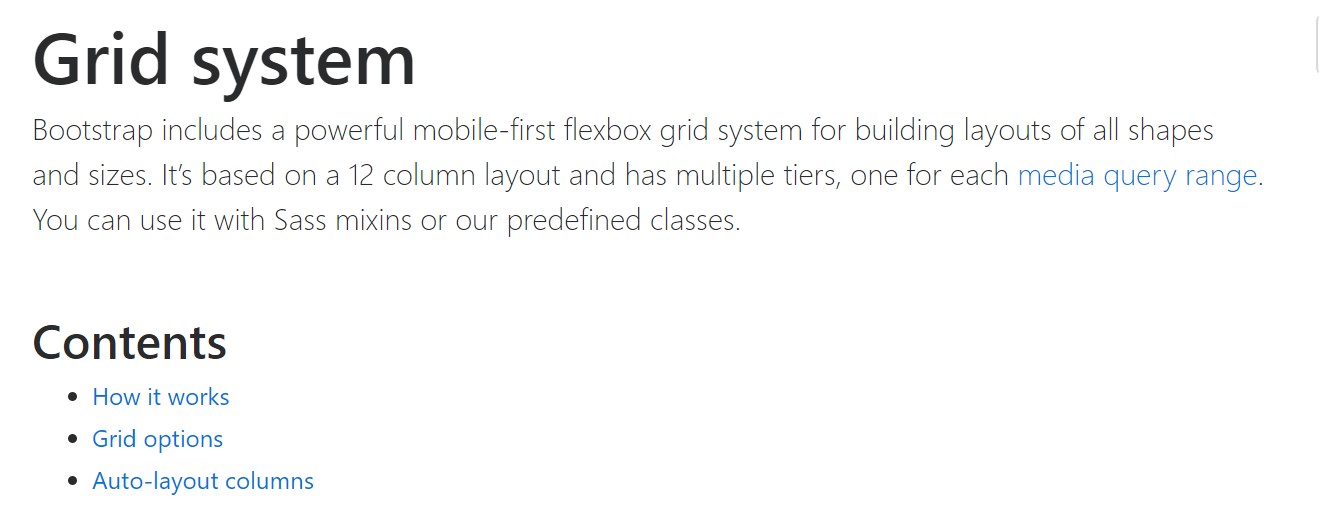
Bootstrap 4 Grid system: formal documents
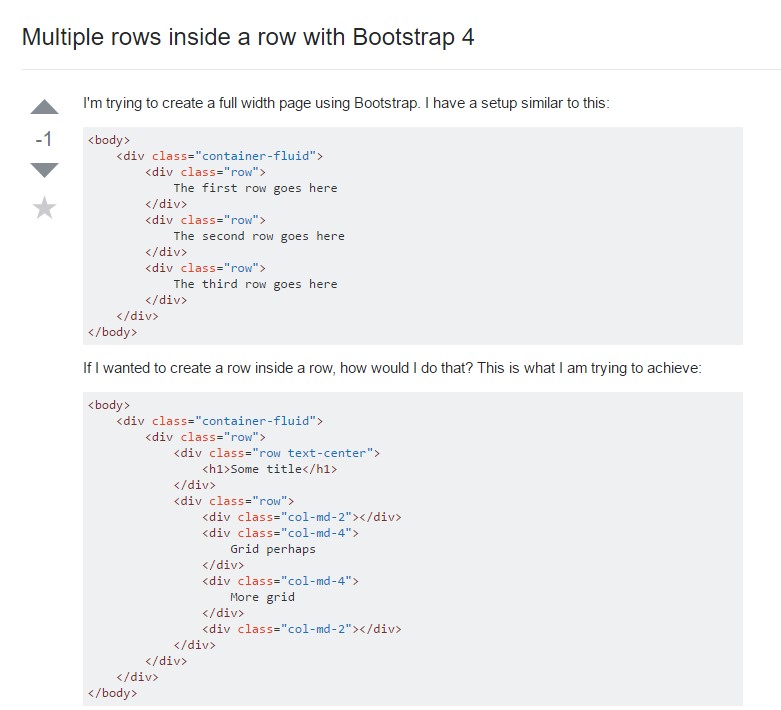
Multiple rows inside a row with Bootstrap 4
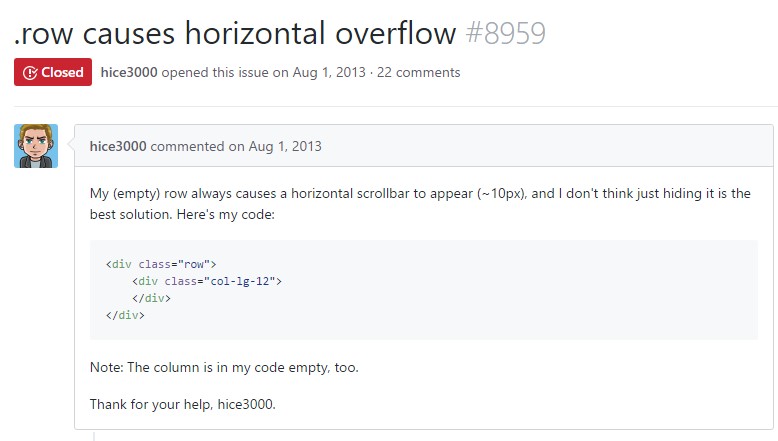
Yet another trouble: .row
causes horizontal overflow
.row