Bootstrap Header Template
Intro
As inside of published documents the header is just one of the more necessary elements of the web pages we get and set up to use every single day. It safely and securely keeps one of the most important related information about the status of the company as well as people responsible for the page in itself and the importance of the whole site-- its navigation building which along with the Bootstrap Header Form itself should be thought and create in this sort of method that a site visitor in a hurry or not actually realizing which way to see simply just take a look at plus get the wanted information. This is the preferred case-- in the real life making as near as feasible to this appeal and activity likewise proceeds due to the fact that we pretty much each and every moment have some project specified limitations to think of. Also in contrast to the written documents all over the world of internet we should really always remember the variety of attainable devices on which our pages could potentially get exposed-- we should ensure their responsive attitude or else in other words-- make sure they will show top at any monitor size attainable.
So let's look and see exactly how a navbar gets developed in Bootstrap 4. ( additional info)
Ways to employ the Bootstrap Header Example:
Initially in order to make a webpage header or considering that it gets referred to in the framework-- a navbar-- we require to wrap the entire item within a
<nav>.navbar.navbar-toggleable- ~ screen size ~.bg-*.navbar-light.navbar-lightWithin this parent feature we should initiate by applying a switch element that shall be employed to present the collapsed information on a smaller sized display screen scales-- to achieve that generate a
<button>.navbar-toggler.navbar-toggler-left.navbar-toggler-righttype = " button "data-toggle ="collapse"data-target = " ~ the collapse element ID ~What is actually bright new for newest alpha 6 release of the Bootstrap 4 framework is that inside the
.navbar-togler<span>.navbar-toggler-icon<a>.navbar-brand<div class="img"><img></div>Now-- the crucial part-- generating the collapsible container for the primary site navigating-- to perform it create an element utilizing the
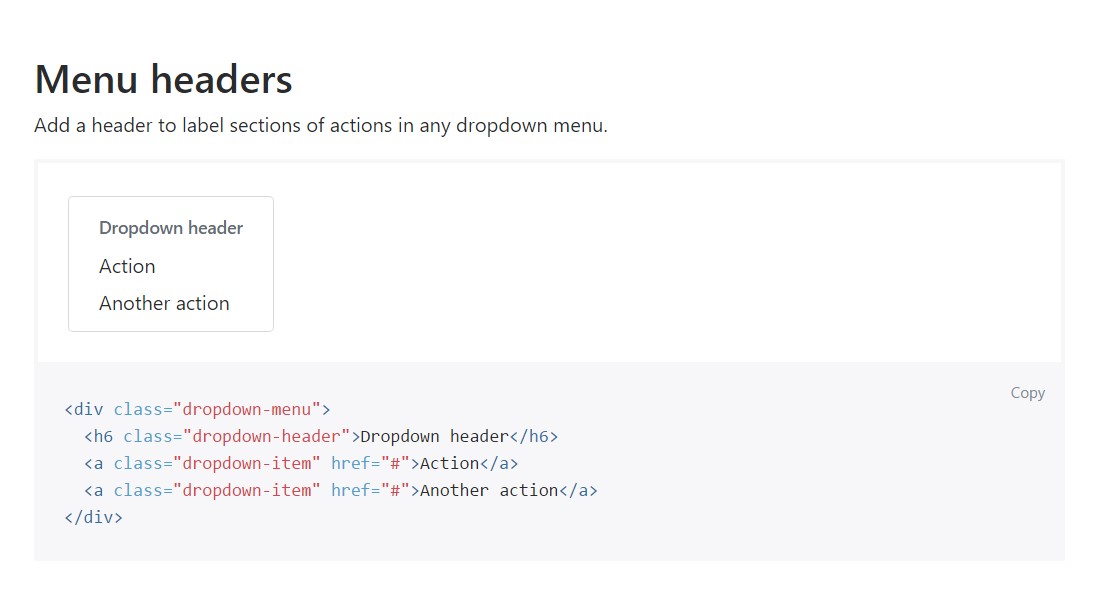
.collapse.navbar-collapseid =" ~ same as navbar toggler data-target ~ ".collapse<ul>.navbar-nav<ul><li>.nav-item<a>.nav-link.nav-item.nav-link.nav-item.dropdown<li>.dropdown-toggle.nav-link.nav-item<div>.dropdown-menu.dropdown-itemExample of menu headers
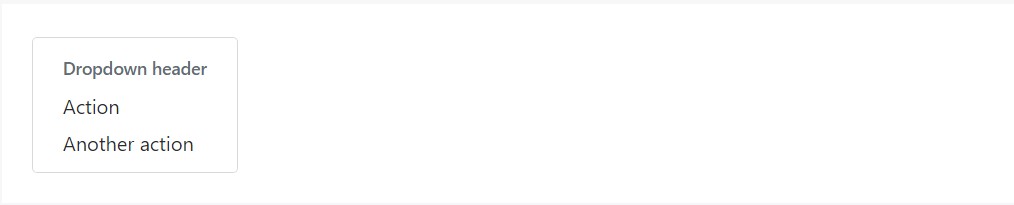
Add in a header to label segments of actions in any dropdown menu.
<div class="dropdown-menu">
  <h6 class="dropdown-header">Dropdown header</h6>
  <a class="dropdown-item" href="#">Action</a>
  <a class="dropdown-item" href="#">Another action</a>
</div>
Additional opportunities
Yet another brand-new item for this particular version is the possibility to set an inline forms in your
.navbar.form-inline<span>.navbar-textConclusions
Whenever it involves the header materials in the current Bootstrap 4 version this is being cared for with the built in Collapse plugin and some navigation specific material classes-- a few of them created especially for keeping your brand's uniqueness and others-- to create certain the real page navigational structure will show best collapsing in a mobile phone design menu when a indicated viewport size is accomplished.
Inspect some youtube video training about Bootstrap Header
Related topics:
Bootstrap Header: main documents
Bootstrap Header training
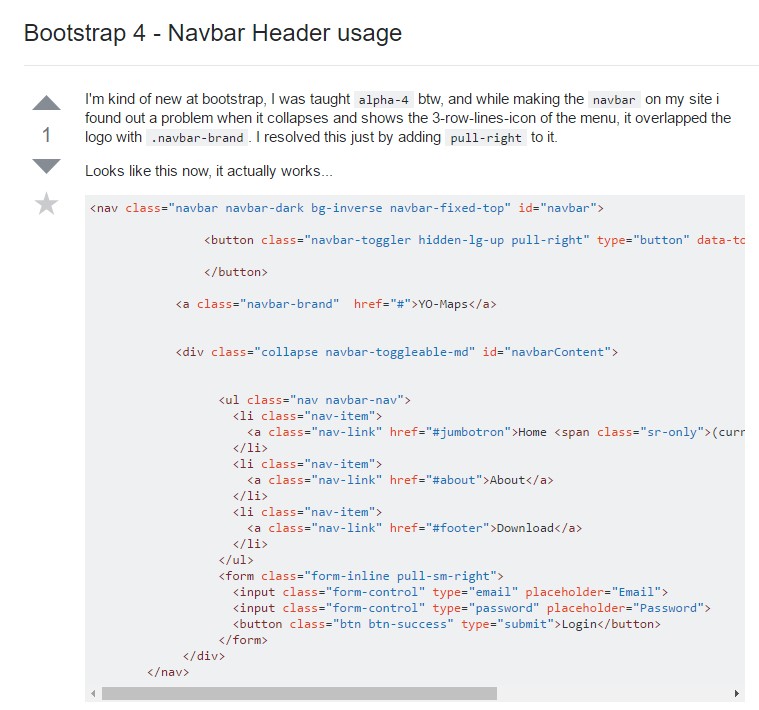
Bootstrap 4 - Navbar Header utilisation